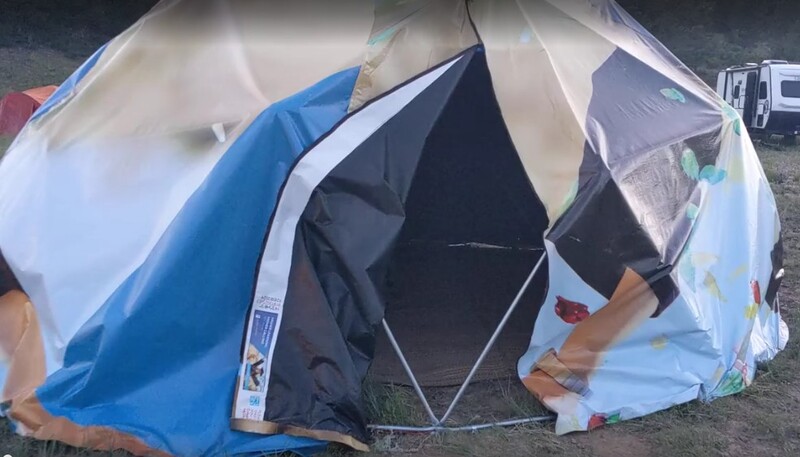
Phonic Bloom cover
Phonic Bloom works best when it’s in a dark space. I also wanted it to be waterproof and dust-proof, to protect the electronics. There, I needed to make a cover.
I had previously made a cover out of duck cloth canvas for a friend’s smaller geodesic dome. I used Domerama’s cover pattern calculator to calculate the size of the triangular pieces, called gores, that I needed to cut. Then I sewed the pieces together on my home sewing machine. I don’t know why, but the cover I ended up with was about 60cm short on the bottom, so I had to add back some more canvas. If you’re doing this at home, I would recommend measuring your dome from the top to the bottom and checking, or just adding some extra length at the end of each gore. It’s much easier to remove canvas then add more on later.
Canvas isn’t waterproof, so my friend used Canvak Wax to make it more water-resistant. This worked okay, but the top of geodomes is level, which causes water to pool and more likely to soak through. For my dome, I decided to use vinyl tarp material instead.
I purchased a used billboard vinyl tarp from Repurposed Materials. Billboards are printed on large vinyl sheets, and once the ad as run, they sell the used vinyl. These are high quality canvas-backed tarps, roughly double the thickness of regular blue tarps. Because they were used outside, they sometimes do come with pinholes in them, but I found that water will usually pass over pinholes, so this wasn’t a big issue.
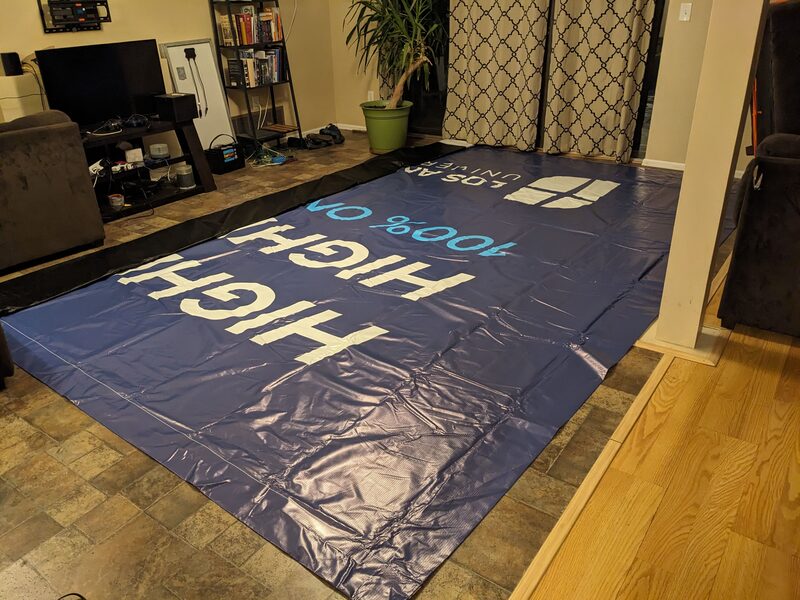
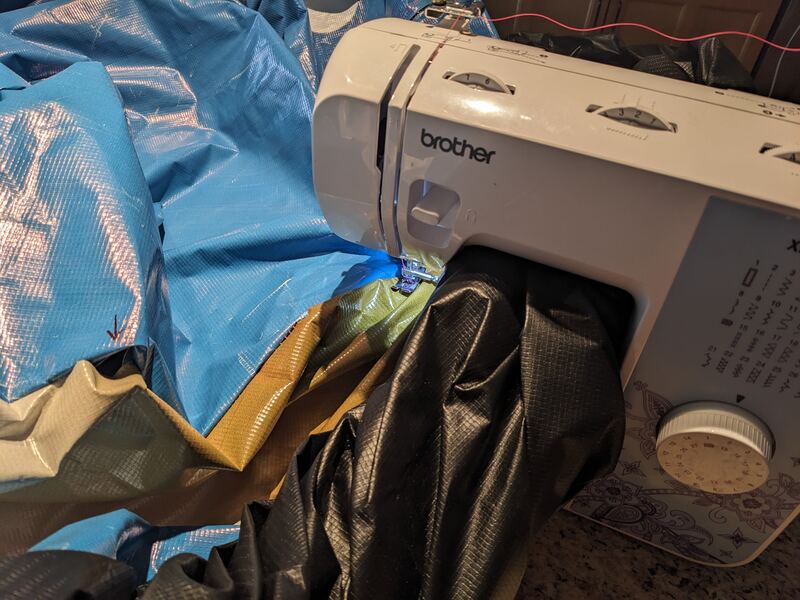
I laid the tarp out on my living room floor so that I could the gores out. Some people have used tools to weld the gores together but I decided to sew them together because I already had experience, and I didn’t have to buy new tools. After a quick test, I found that my sewing machine was easily able to punch through the vinyl, even through multiple layers. It actually handled vinyl better than it did duck cloth.
Sewing vinyl does have some downsides. When you sew normal cloth, the needle pushes the threads apart as it pushes through, but with vinyl, you’re just punching holes in it. This perforates the material, making it more likely to tear out later. It also means that you can’t remove a seam and redo it later if you make a mistake. The additional holes can also drip, although making a good seam can reduce this problem. Use a long stirch length to minimize the number of holes.
I used outdoor uphostery thread. It’s thicker, stronger, and UV resistant.
To reduce leaks and make the seam stronger, you should sew a full flat felled seam. Put the two pieces right-side to right-side, with the lower piece sticking past an additional 2.5cm and then sew the pieces together with a 1.25cm seam allowance. Then, roll the lower seam up and over the upper seam, tucking it underneath. Fold the top layer over, so that both pieces are right-side up, and add a final seam that punches through all 4 layers. The gores at the base were 2.4m wide, so I had to rol them up to fit under my sewing machine arm. Near the bottom, the roll couldn’t fit under my sewing machine arm, so I had to hand sew the lower third. You could cut more gores to reduce the width of each gore and make sewing easier, but this would also mean you have more seams to do overall.
I added vents using zippers in the cover too. They are curved, so they can flip open. There are specific zippers designed to bend around curves, which I only found out after I added them. They’re a bit hard to open. These vents are really useful to let out heat when the dome is in the sun, and for providing light when you’re setting up. One is probably sufficient. If you’re going to add one, put it low on the cover. Zippers tend to drop in the rain, and water tends to pool around my upper vent because it’s flatter there, making it drip more. Also, it’s much easier to add the vent to the gore before you sew that gore to the rest of the cover.
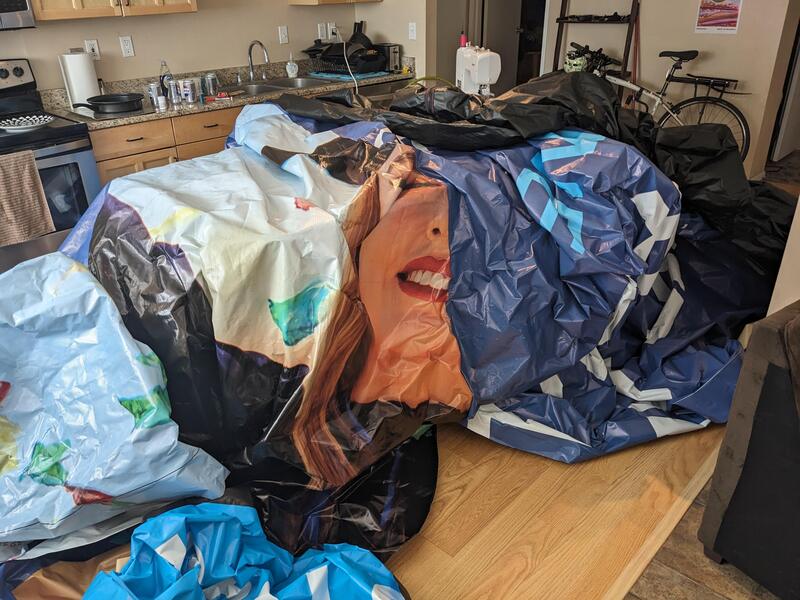
The full cover is really big, and as I added more gores, maneuvering the whole cover to add more gores became difficult. I had to set up chairs to hold up the remainder of the cover so it didn’t slide off and pull. My living room was a mess for a couple weeks.
I added zippers for the entrance. I wasn’t sure which size would work better, so I added one longer zipper and one shorter. The longer zipper was definitely the better choice, but the smaller zipper in back is handy to use as a vent or to move electronics in and out. The final seam of the last gore needs to be done entirely by hand because there’s nowhere to unroll it.
In the end, I think it came out really well. Keeping the seams straight was a challenge just because of how large and unwieldy the cover was, and I missed some seams that I had to redo by hand. When it rains, a few seams and the zippers drip a little bit. I’m going to buy some silicone sealant and see if I can patch those small problems.